It doesn’t matter if you’re a contractor, municipality or branch of the military. When you use a process to pre-check, inspect, clean and maintain your equipment, your equipment’s life will be extended considerably. The better your sweeper is cared for, the better it takes care of you. As soon as its care is let go to waste, its deterioration will have a snowball effect.
A clean, well-maintained sweeper shows your customers and the public that you care. If you take pride and care in your sweeper, the perception is that you take pride and care in the services you provide. Some organizations even assign a sweeper to an operator who then is responsible for seeing that the machine is cared for and maintained. Some operators even have their name painted on the door just like a Top Gun pilot. Your equipment can be some of the best advertisement for your business or services.
Sadly, we’ve seen too many sweepers over years that have no daily process or scheduled maintenance in place. So, we’re here to help.
When writing your process for the use and storage of your sweeper, keep it simple enough so that it can be easily followed, but complete enough, so it adds value.
Pre-Sweep Checklist
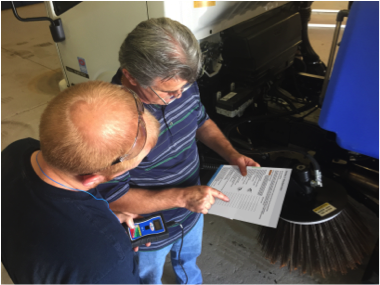
Start with the pre-sweep checklist found in the operator’s manual of your Schwarze sweeper and use it as the basis for your process to ensure no items are overlooked.
Operations Checklist
Next is operations. Keep everyone on the same page by training all operators in the same way and ensure they all follow the same process. Operations, as with most everything, should start with safety. Have your operators check to make sure all safety lights are operational and the area is clear for starting the sweeper, water is used to reduce dust (increasing visibility) and that backup alarms, mirrors, and cameras are all set and working properly before every sweeping job.
Post-Sweep Checklist
This part of the process is often missed and can be one of the most important. There’s an old saying, “Rode hard and put away wet,” this could be detrimental to the horse, but the same can be said for your sweeper. When your equipment is put away correctly, it will be ready for the next sweeping job and operate at its full potential. So when the sweeper returns to “the barn” it is important that it gets a bath and goes through a post-sweep checklist. This is usually the same as the pre-sweep checklist with the exclusion of filling the water tanks.
 This is also a good time for the operator to note any items that may require servicing such as faulty lights, loose hardware, changes in performance and so on. These notes should then be passed on to the service tech, or if you run a small operation, function as a reminder for the operator to take care of the issues before the next sweeping job.
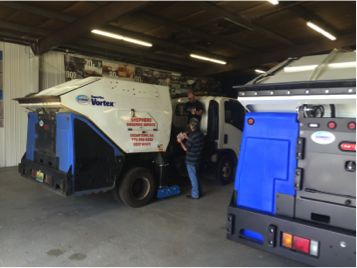
Many customers implemented a “return area” and a “ready area.” After sweeping, dumping and cleaning the unit for the day, the sweeper is parked in this return area for service and maintenance. Once the service work the operator requested, and the scheduled maintenance is done, the sweeper is parked in the ready area, ready for another “ride.”
If you don’t have the space to have two locations, you can use an indicator such as a laminated sheet with “READY FOR MAINTENANCE” on one side and “READY TO SWEEP” on the other. You can even use colors like red and green to make it more visual. The laminated sheet can be stored in the glove compartment and placed on the dashboard when needed to indicate the machine’s status. It’s also a good idea, at least once a month, to inspect and touch up the painted components that need it. Sweepers get a lot of scrapes and scratches, and it’s best to keep them coated to prevent rust and preserve appearances.
Once everyone sees the results and benefits of following your process, it will easily become routine, and you will be on your way to extending your sweeper’s life. Who knows, it may even boost the pride and esprit de corps of your team!
By Jim Adair, Director of Product Management at Schwarze Industries
![]()